A chef knife can carry good steel and a clean finish and still feel dead in hand if too much mass stays in the spine to the tip. Distal taper fixes that. The blade stays stiff at the heel, then drops thickness toward the point, so it moves cleaner through herbs, chicken, and long slicing jobs. On the grinding line, QC pulled the sample at the 120 mm mark with a micrometer, and the taper showed up the moment we flipped the blade.
If you are doing knife distal taper grind sourcing, the wrong question is whether the sample looks slim. The real question is whether the taper repeats from the Yangjiang production line to the next reorder, with the same HRC, the same spine checkpoints, and the same cost model. We write the taper into the drawing, check it with gauges, and hold it under AQL 2.5 at shipment. The buyer flagged a 0.2 mm drift on one PO once, and that is where the math does not work if the process is loose.
What distal taper changes on the board
Distal taper shifts how the knife carries mass from heel to tip. On the grinding line we check spine thickness every 20 mm with a caliper, because a blade that stays thick until the last few centimeters feels dead in the hand. Once the spine thins toward the tip, the front half stops dragging your wrist through detail work, push cuts, and long slicing passes. A 240 mm chef knife with a heel around 2.3-2.8 mm and a tip zone around 0.9-1.2 mm usually moves faster than a blade that sits at 2.5 mm almost all the way through.
This is not weight loss for show. It is where the weight sits. When QC pulled the sample and the balance point moved back 4 mm, the knife started and stopped cleaner, tracked straighter at the tip, and felt less nose-heavy in a pinch grip. We had a buyer flag a PO typo on the heel spec once, and the sample still told the story fast. Premium kitchen brands sell distal taper as a working spec, not a cosmetic one. Buyers do not always ask for the term first. They do say the knife feels controlled. That is the right question.
- Better balance: the knife does not fight your wrist during a 6-hour prep run.
- Cleaner tip work: the front third stays more precise on garlic, shallots, and herbs.
- Less drag: the blade moves through food with less forward pressure, especially on dense cuts.
The limit is real. Push the taper too hard and the blade starts to feel whippy; we have seen that go sideways on carrots and winter squash at the slicing bench. For smaller petty or paring knives, profile and edge geometry usually matter more than a dramatic taper. Distal taper earns its keep on chef knives, gyutos, slicers, and other blades where you want speed without giving up backbone. If the buyer wants one knife to do everything, that is the wrong question to ask.
How we grind a taper consistently
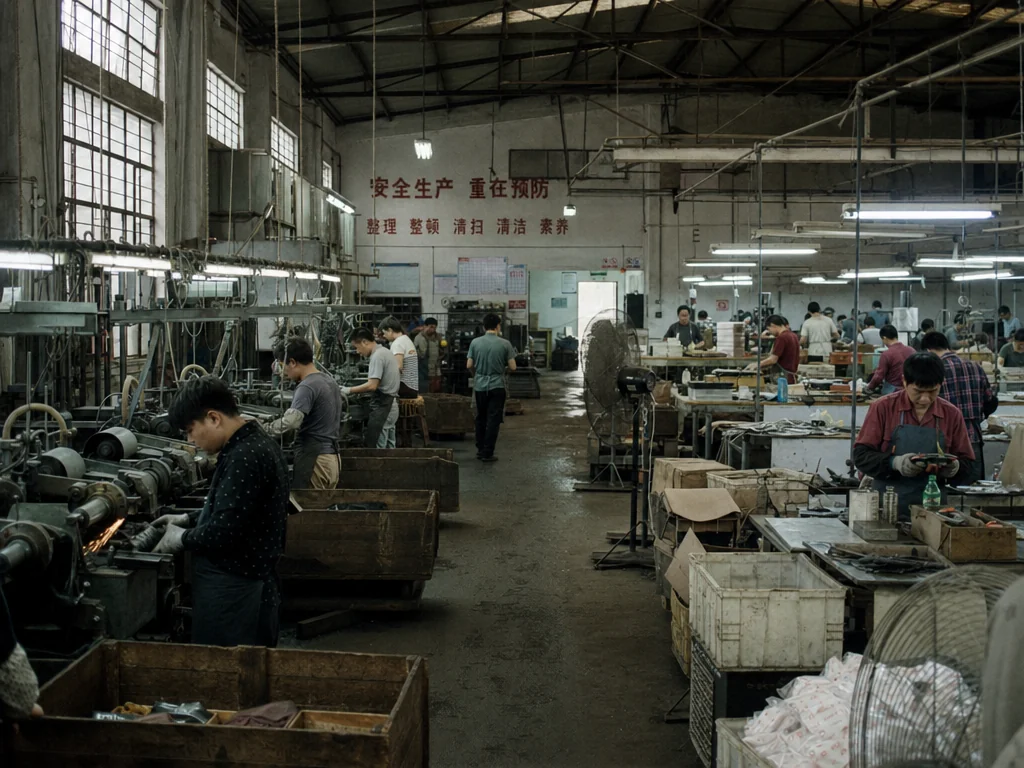
On the grinding line, distal taper is set before final finish. We cut the profile, run heat treat, then send the blades through controlled passes on the belt grinder with a fixed jig. If you try to build the whole shape with hand pressure alone, you get one clean sample and a bad batch. We saw it on a 12-day pilot: the first sample passed, then the second lot drifted and QC pulled the parts. The numbers do not work any other way. One operator can fake a blade for a photo; he cannot fake a full carton.
In Yangjiang, stable output means measuring at fixed checkpoints, not guessing by eye. We mark the heel, mid-blade, and tip-zone points on the jig, then run a repeatable belt path with a clear pass count. If the buyer asks for satin finish or stonewash, the grind line still has to stay straight and the blend has to flow. A stepped transition is a reject. This is the wrong question to ask if someone wants consistency. We had one buyer flag a PO because the tip point was written as 0.9 mm on the spec sheet and 0.09 mm in the note, and that typo burned a week. We run a 3-point gauge on the line for this reason, and the grinding team checks it before the batch moves to polish.
| Checkpoint | Practical target | Why it matters |
|---|---|---|
| Heel spine | 2.2-2.8 mm | Sets stiffness and feel at the bolster area |
| Mid-blade spine | 1.5-2.0 mm | Prevents the blade from feeling flat or dead |
| 20 mm from tip | 0.9-1.2 mm | Controls agility without making the point fragile |
| Tolerance | ±0.1 mm | Stops reorder drift and sample-to-mass variation |
That last line is the one most buyers miss. A taper only sells if the second shipment matches the first one. If you cannot hold the measurements inside a usable tolerance, finish and handle work will not save the program. We have seen this go sideways on a 2,000-piece reorder: the spec looked fine on paper, then the spine ran 0.2 mm heavy and the feel changed in the hand. QC pulled the sample at the comparator, then the buyer asked why the blade felt slower on board cuts. Same knife, different grind, different result.
Steel and hardness still decide
Steel and hardness still set the ceiling.Distal taper does not fix bad steel. We run the same 0.8 mm spine taper on a 60-62 HRC blade and it cuts clean; on 56-58 HRC stainless after a 3 mm grind at the heel, the edge starts to wander fast. Hardness, toughness, and edge stability move together. A 56-58 HRC stainless needs more backing than a 60-62 HRC blade. Thin the spine too far on softer workhorse steel and the edge rolls before the taper earns its keep. On the grinding line, QC pulled the sample at 18x magnification and the first roll showed at the tip.
For premium kitchen knives, this is the wrong question to ask: how thin can you push it. Ask what the knife still does after 200 CATRA-style cuts and a few board sessions. A harder stainless, tempered right and checked on the Rockwell scale per ASTM E18, can carry a slimmer transition near the tip. A more forgiving steel still works, but the taper needs to back off and the edge geometry needs more meat. On one 240 mm chef knife run, the buyer flagged a 0.15 mm spine drop at the tip, and we changed the grind before the trial cut got signed off. We've seen this go sideways when buyers chase tip weight first. We ship to the performance target, not to a pretty cross-section.
Heat treat matters just as much. If the blade carries uneven hardness, the taper feels sharp in one zone and dead in another. If the temper is off, the tip chips under a normal pinch grip and a small lateral load. We caught that on a 3-point bend check when the tip snapped at 1.8 kg instead of 2.2 kg, and that batch never left the rack. For export programs, the paper trail has to match the steel. You want the grind spec, the HRC band, and the compliance file to line up when the retailer asks for ISO 9001 traceability or the handle and food-contact parts need REACH, LFGB, or FDA support.
Write the sourcing spec properly
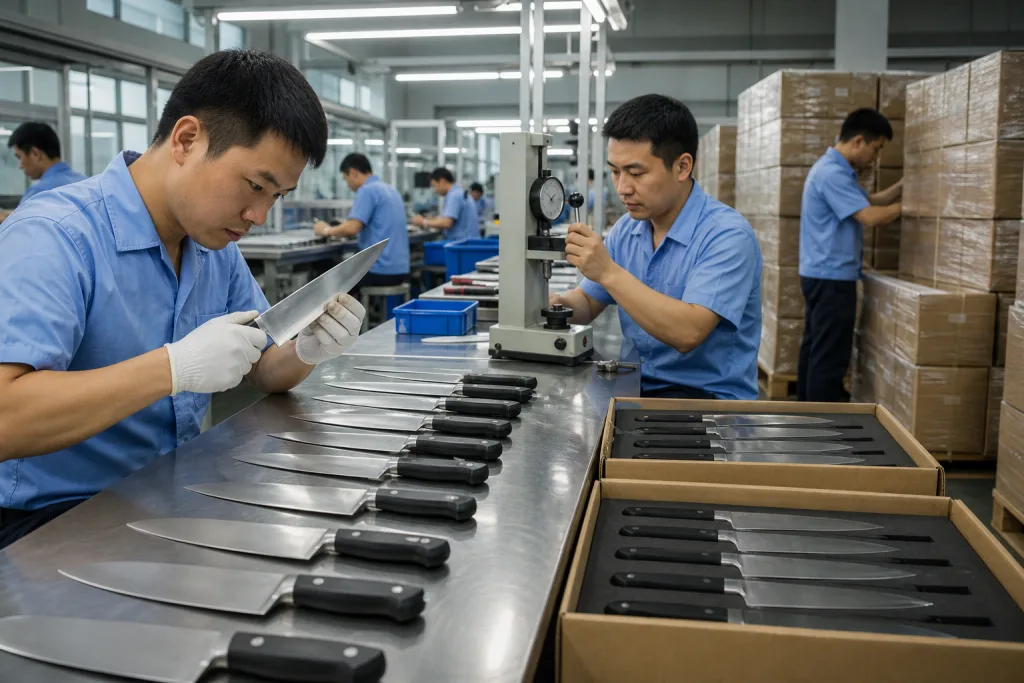
A serious knife distal taper grind manufacturer takes a drawing with measurement points, not a vague note to make the knife feel faster in hand. We run this on the grinding line with a caliper and a thickness gauge, and QC pulled the sample last week because the tip was drifting 0.3 mm at the wrong point. If the buyer says "make it agile" without a measurement plan, this is the wrong question to ask. Set blade length, steel grade, hardness band, measuring points, finish level, and the taper window before the first sample is cut. If you source in Yangjiang or Zhejiang, keep the same gauge points on every reorder batch so the plant cannot slide the spec.
| Spec item | Recommended callout | Buyer note |
|---|---|---|
| Blade length | 210, 240, or 270 mm | The 240 mm run and the 210 mm run do not grind the same; do not lump them together |
| Heel spine | 2.4 mm ±0.1 mm | Start here, then check the first 30 mm on the line |
| Tip-zone spine | 1.0 mm ±0.1 mm at 20 mm from tip | This is the number that decides the feel at the working end |
| Finish | 400-600 grit satin or equivalent | Ask for the finish sample; a rough belt leaves marks you can see under shop light |
| QC | AQL 2.5 with 3-point thickness check | Keeps drift out of mass production |
Add the commercial details too. If you need BSCI audit records, ISO 9001 process evidence, or separate packaging for Amazon FNSKU labels, put it on the sheet before PP approval. We have seen a carton run stop over a 12 mm label mismatch, and the packing bench sat for 2 days while the buyer fixed a PO typo. A good OEM sheet also splits FOB from DDP, because the freight and duty math does not work if you blur them into the knife price. Last month a buyer flagged the FNSKU on a PO, and the cartons sat for two days. The tighter the purchase order, the less room there is for factory guesswork.
Cost, MOQ, and OEM tradeoffs
A distal taper adds labor, setup, and inspection time. Raw steel cost barely moves. The extra money sits on the grinding line. We run the blade back over a 400-grit belt, then QC checks spine reduction at heel, middle, and tip with a dial indicator. Plunge drift stays under 0.5 mm. Tip symmetry gets checked on a simple fixture before polishing. In a 240-person factory in Yangjiang, China, with output capacity around 180,000 knives per month, that job is fine if the spec is clear and the grinder is not guessing. If the drawing only says “thin toward the tip,” we end up rescuing samples by hand. That is the wrong question to ask. Ask for the tolerance.
For premium kitchen knife OEM work, a tapered chef knife usually carries about a 5-12% cost premium versus a straight-spine equivalent. MOQ is commonly 500-1,000 pcs per SKU for a focused premium run, and that number climbs fast if you add three handle colors, etched logos, gift boxes, or mixed blade lengths. Lead time is often 35-45 days after sample approval; Damascus blades or heavy hand blending usually push that to 52-60 days. QC pulled the sample last week and found a 0.3 mm spine variance near the heel, measured with a digital caliper after the satin finish. That kind of miss turns into rework. The math does not work when the buyer wants a premium taper and a budget line price.
Use FOB when you want to control freight and import handling yourself. Use DDP only when you want the factory to carry more of the landed cost risk. If you are building a premium range, ask for separate line items for blade, handle, engraving, and custom packaging so the taper cost is not buried inside a loose total price. We also flag PO typos before production starts; last month a buyer typed 12 pcs/ctn instead of 24 pcs/ctn, and that one carton count error burned two days and one export booking. With clean line items, you can see where the taper is costing real money and where the supplier is padding the quote.
How to judge a sample fast
You can judge a sample in 10 minutes if you use the same routine every time. Put Mitutoyo calipers on the heel spine, mid-blade spine, and tip zone, then hold the blade under a 5000K light and compare both grind lines. If the taper looks clean but the numbers drift by 0.2 mm or more from the drawing, treat it as a production risk, not a sample quirk. We had a buyer flag a PO typo on spine thickness once, and the grinding line burned half a day chasing the wrong target.
Then cut food, not paper. On our bench we run onion, carrot, cucumber, and a 30 cm protein slice, because paper hides a bad distal taper. Watch whether the tip enters cleanly, whether the knife rocks without drag, and whether the blade changes direction cleanly in a pinch grip. If it feels light at the tip but chatters on dense product, the taper is too aggressive or the edge is too thin for that steel. This is the wrong question to ask if you only look at the edge. We have seen that go sideways on 58 HRC blanks before QC pulled the sample.
- Check the point: no bent tip and no overground point.
- Check symmetry: left and right grind lines should match under the same light.
- Check finish: no waves, burns, or heavy belt marks from the grinding line.
- Check paperwork: sample spec, HRC, and compliance files should match the blade.
That is the real standard for premium sourcing in China: the sample has to look right, cut right, and still measure right. If it only passes one test, the taper is not ready for production. The math does not work, and we have seen 12 days of sampling turn into 18 days on the line.
Frequently asked questions
A practical starting point is 2.2-2.6 mm at the heel, 1.4-1.7 mm around the middle, and 0.9-1.2 mm about 20 mm from the tip before the final edge bevel. If the blade is a harder stainless at 60-62 HRC, you can usually go slightly thinner. If it is a softer 56-58 HRC workhorse steel, keep more support in the front section. The exact spec depends on blade height, profile, and how much tip agility you want. Ask for those numbers on the drawing, not only on the sample, because hand samples can hide 0.1-0.2 mm of production drift.
Not if the geometry is correct. Distal taper reduces spine mass, but the tip still needs enough cross-section to survive normal kitchen use. A tip zone around 0.8-1.0 mm can still be durable if the steel is properly heat treated and the point is not over-acute. The real failure mode is an abrupt taper or a point that is too thin for the steel grade. For premium kitchen knives, we check tip flex, light lateral load, and board-cut performance before approving the spec. If you sell in Europe or North America, keep the food-contact and handle compliance files aligned as well.
Distal taper usually adds labor and inspection more than raw material cost. For an OEM knife run, a realistic premium is about 5-12% versus a straight-spine blade, depending on blade length, finish, and how much hand correction is needed. MOQ is often 500-1,000 pcs per SKU for a premium kitchen program, but the number can rise if you add custom handles, gift boxes, laser engraving, or mixed SKUs. Lead time is commonly 35-45 days after PP sample approval. If you need DDP pricing, FNSKU labeling, or custom packaging, keep those as separate line items.
Yes, but the process has to be tighter. Damascus layers can show uneven transitions if the taper and polish are not controlled, especially near the tip. The safest workflow is to lock the profile, heat treat the blade, grind the taper with fixed checkpoints, then finish grind and etch. Expect more labor and a bit more scrap than with a monosteel chef knife. For a premium range, that cost is usually acceptable if the sample passes both visual alignment and measurement checks at the heel, mid-blade, and tip zone. The key is consistency, not just appearance.
Ask for three thickness readings on every approved sample: heel spine, mid-blade spine, and spine thickness 20 mm from the tip, all in millimeters with tolerance stated on the drawing. Then ask for hardness in HRC, finish grit, and the inspection standard used, usually AQL 2.5 for final inspection. If you sell into Europe or North America, request any relevant REACH, LFGB, or FDA-related material records for the handle, coating, and food-contact surfaces. A serious knife OEM partner in China or Yangjiang should be able to provide that without friction. If they cannot, the taper is not your real problem.
Build a faster knife, not just thinner
Send your blade length, steel grade, target HRC, and annual volume. We will map the taper, QC checkpoints, and OEM cost structure for a production-ready sample.
Request a Quote