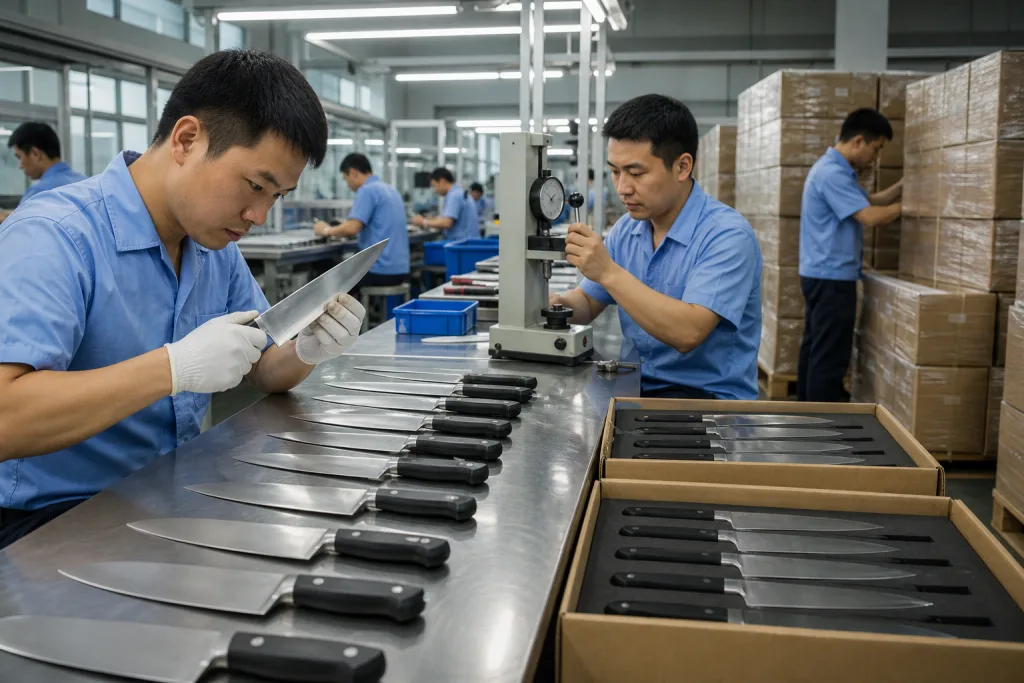
A bread knife looks simple until your retail team receives 3,000 units with torn serration tips, a 0.6 mm handle gap, or color boxes cracking in a 90 cm drop test. Too late then. Sample approval is where QC pulls the sample, slices 20 loaves on the test bench, checks tomato skin drag, then opens a shipping carton with the same knife to catch problems before the PO moves to mass production.
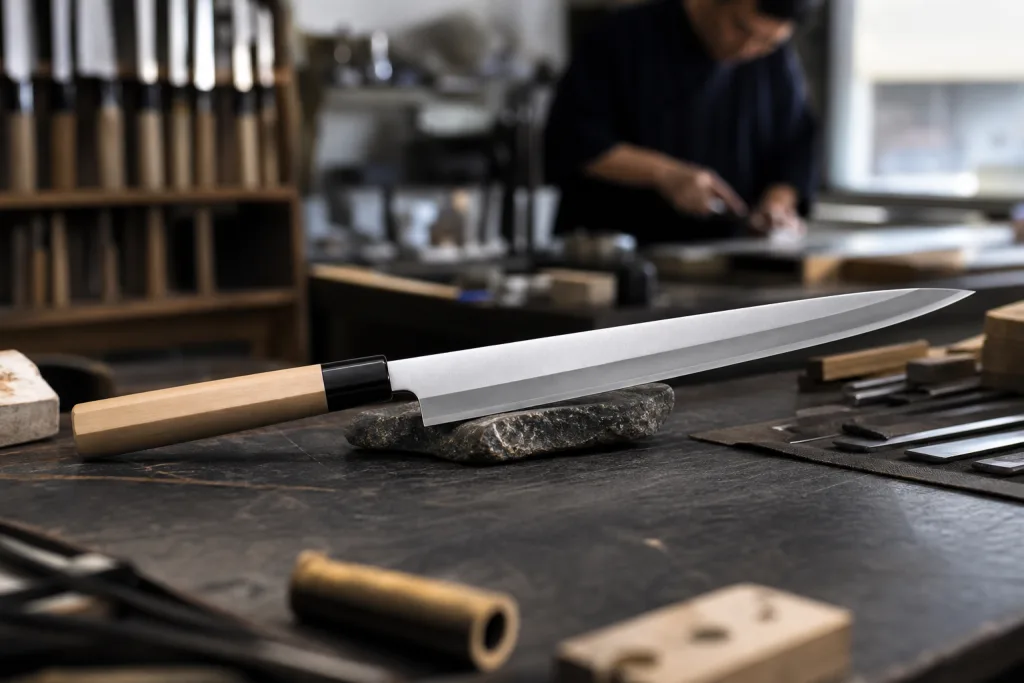
At TANGFORGE in Yangjiang, China, we treat a bread knife sample as a physical pre-production agreement. “Does it cut bread?” is the wrong question to ask. We check blade geometry with a caliper, record the HRC reading, test handle grip with wet hands at the sink, confirm logo position, run carton strength checks, scan barcode data, and lock inspection limits before the grinding line starts bulk work; we have seen one buyer flag a 2 mm logo shift after the sample was already signed, and the math does not work once 18 cartons are packed.
What Sample Approval Really Means
Sample approval is not a polite email saying, “looks good.” For a retail private label team, it becomes the signed production standard: what passes, what gets rejected, and the exact point where tolerance stops. The approved sample sits on the QC table beside the 0.01 mm digital caliper, edge tester, blister card proof, and carton label mock-up. We run bulk production, final inspection, packing checks, and claims review against that piece. No memory games.
For a custom bread knife, the sample must prove the cut and the process. The serrations need to bite into a 35 mm hard crust without dragging soft crumb into torn pieces, and the grinding line has to repeat that edge at your target cost, not just make 1 clean sample for a buyer meeting. The finished item also has to match the retail channel: barcode scan result, warning label, carton mark, and compliance paperwork checked before approval. We have seen this go sideways. One buyer liked the blade, then their DC rejected 640 cartons because the carton mark did not match the intake rule printed on their routing guide.
Do not approve a sample only from photos. Wrong question. Photos hide blade waviness, burrs, 0.3 mm handle gaps, and front-heavy balance your customer feels in 5 seconds. Ask your bread knife supplier to send at least 2-3 physical samples made with the intended steel, handle material, logo method, and packaging structure, then cut real bread with them. If the first sample is handmade by a sample room technician, ask whether mass production will run the same jig, belt grit, and polishing sequence. A beautiful one-off sample can still make a bad production standard.
At our Yangjiang, China facility, we normally ask buyers to sign off on a sample sheet listing steel grade, blade length, blade thickness, HRC band, handle material, logo method, packaging, and AQL level. QC pulled one sample last month where the PO said “black PP handle” but the artwork file said “matte TPR,” and that small typo would have delayed shipment by 12 days vs 18 days if we had caught it after packing. The sheet stops product development, purchasing, and QC from approving 3 different versions of the same knife.
Lock Blade Geometry Before Anything Else
Blade geometry decides whether a bread knife sample passes or dies. Retail buyers often open with handle color or sleeve artwork because those parts sell on the shelf. At sample stage, that is the wrong question to ask. The knife gets judged on a crusty baguette, a 30 mm sourdough slice, sponge cake, and tomato skin with one clean pull. If the blade slips or chews, the printed sleeve will not save the SKU. Last month QC pulled a sample after 50 test cuts because the heel dragged and tore the crumb; the buyer’s note was 7 words: “edge catches before full stroke finish.”
For most bread knife wholesale programs, blade length works best at 200-250 mm. A 203 mm blade fits compact retail sets. A 230-250 mm blade cuts artisan loaves with fewer strokes, which buyers notice during kitchen testing. Blade thickness usually sits at 1.5-2.2 mm, depending on steel grade and target FOB. Too thin feels weak in the hand. Too thick wedges into bread and leaves a rough cut face. On our grinding line, we check spine thickness with a 0.01 mm digital caliper, then recheck near the heel because a 0.3 mm drift there changes the cutting feel.
The serration pattern needs written approval, not a quick WeChat “OK.” Ask the bread knife factory to record pitch, depth, tooth angle, and whether the edge is single bevel or scalloped. One production problem we see: tooth grinding looks clean in the middle, then runs shallow near the tip and heel. Inspect the sample under strong light and run a cotton cloth along the edge with light pressure. If it snags in 6 random spots, you are probably seeing burrs or uneven grinding. The buyer flagged this on a PO once as “serration wave not stable,” and the math did not work for mass production until we corrected the grinding wheel setting by 0.2 mm.
- Blade length: confirm tolerance, usually ±2 mm for standard production, and measure 5 samples from tip to handle shoulder.
- Blade thickness: measure at spine and near heel with a caliper; one center-point reading hides taper problems.
- Serration pitch: test cutting feel on bread and tomato skin, then file a 1:1 edge photo for production QC.
- Tip profile: rounded tips fit retail sets with open trays; pointed tips suit professional lines with sheath packing and clearer warning labels.
Once blade geometry is approved, freeze it. No casual revisions. Changing blade length by 10 mm after packaging has started can force new inserts, new carton calculations, and fresh safety testing. We have seen this go sideways: a 230 mm sample became 240 mm on the revised PO, then the PET tray failed the 80 cm drop check and shipment moved from 12 days to 18 days.
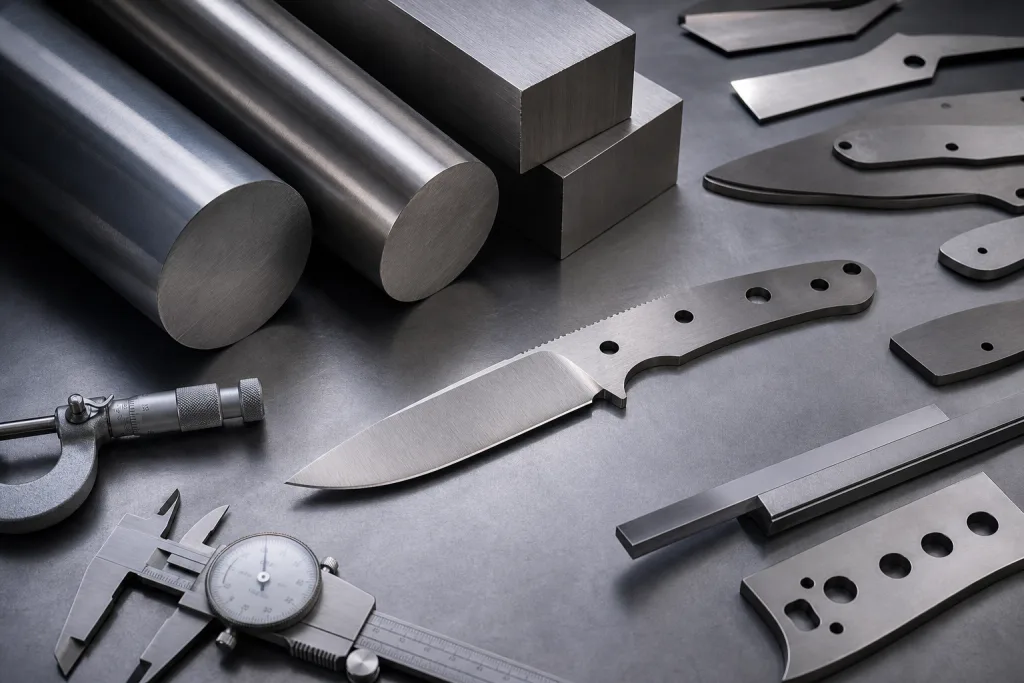
Check Steel, Hardness, and Heat Treatment
A bread knife does not chase the same edge-retention number as an 8-inch chef knife, but weak steel shows up fast after 50 cuts through crusty toast. Serrations tell on you. Home users almost never resharpen those teeth, so the grinding line must get the scallop depth and tooth pitch right before the sample leaves our factory. We run 420J2 for sharp price-point sets, 3Cr13 when the buyer needs a cleaner budget quote, 5Cr15MoV for mid-shelf private label, 1.4116 for EU kitchen programs, and AUS-8 when the single bread knife needs a stronger story on the shelf. QC checks the first 12 pcs from the serration wheel with a 10x loupe before packing the sample box.
Steel name alone is the wrong question. Ask for the target HRC band and the test method, then ask the supplier to send the Rockwell tester reading, not just a neat line on the quotation. A low-cost 420J2 bread knife may run around 52-54 HRC. A 5Cr15MoV or 1.4116 program may sit around 56-58 HRC. Higher is not always smarter. We have seen this go sideways when a buyer pushed for 59 HRC on a serrated blade; QC pulled 3 samples with chipped tooth tips after drop testing and handle torsion checks at 0.8 N·m.
| Steel | Typical HRC | Use Case | Buyer Note |
|---|---|---|---|
| 420J2 | 52-54 | Entry retail sets | Rust resistance fits low-price sets; edge life is the tradeoff |
| 3Cr13 | 53-55 | Budget bread knife wholesale | Cost works, but check burrs under 10x inspection after serration grinding |
| 5Cr15MoV | 56-58 | Mid-range private label | Good balance between hardness and corrosion resistance; we see fewer carton-drop claims |
| 1.4116 | 56-58 | EU-focused kitchen lines | Good match for German-style copy, especially when the PO asks for LFGB files |
For sample approval, request 2 hardness readings: one near the heel and one near the mid-blade. Take the reading after heat treatment and finishing, not from a raw material certificate. Small detail. Big difference. If your retailer asks for food-contact documents, confirm LFGB/FDA stainless steel declarations or the local equivalent before sample sign-off. China export factories can provide them, but the file must match the actual steel and handle material on the approved sample; we once had a buyer flag a PO because the sample used 5Cr15MoV while the file still said 3Cr13.
Test Real Cutting Performance
Test the bread knife sample like a customer cutting breakfast bread, not like a catalog video. We run this check on a 300 mm cutting board beside the QC table: 1 loaf, 1 operator, 1 sample knife, with notes written before sales starts defending the sample. No jig. The same method must work for the buyer’s QA staff and our final inspection team at the packing bench.
Use 3 foods, each with a clear pass point. A hard-crust baguette or sourdough loaf checks bite in the first 10 mm of entry; soft sandwich bread shows crumb crushing; a ripe tomato catches weak serration tips that still look fine under the LED lamp. QC pulled the sample last week, and the tomato skin exposed the shallow grind faster than the caliper did. A proper serrated edge starts with light hand pressure and finishes cleanly, not after 20 seconds of angry sawing.
Write the result in shop-floor wording. Example: “cuts 25 mm sourdough slice in 6-8 strokes, no heavy tearing, light crumb compression.” Good enough. “Sharp enough” is the wrong line to put on a report. We have seen this go sideways when a PO only said “good cutting”; final inspection had no pass/fail limit, and the buyer flagged 600 pcs after the cartons were sealed.
Check cutting safety during the same test. The handle should not rotate in the hand when cutting a 90 mm tall loaf, and knuckle clearance should stay above the board through the full stroke. For an offset bread knife, confirm the offset angle stays stable under pressure. For a straight bread knife, check blade height with a steel ruler; if the user’s knuckles hit the board, the math does not work.
If you are sourcing from a bread knife manufacturer in Yangjiang, China, ask the factory to run a batch cutting check during final inspection and write the result on the QC sheet, not just say “sample approved.” At TANGFORGE, our monthly kitchen knife capacity is about 180,000 units, but we still keep the approved sample and cutting notes on the QC table beside the grinding line record. Big volume does not excuse vague performance.
Inspect Handle, Balance, and Assembly
The handle is where retail returns start. We had one EU buyer pass the bread-cutting test, then reject 200 pcs of samples because the grip slipped after QC wiped it with a wet cotton cloth. Fair call. Treat the handle as a working part, not trim. Pull one sample from the grinding line, wipe it damp, then hold it like a shopper cutting a 500 g sandwich loaf at home.
For molded PP, TPR, ABS, or POM handles, check parting lines first. Then look for sink marks around rivet holes, butt ends, and logo pads under a D65 light box. Run a fingernail or 0.10 mm feeler gauge along the seam. The grip texture should bite a wet thumb without scratching skin. For wood or pakkawood, check moisture reading, grain direction, butt-end sealing, and whether rivet heads crush the scale surface. Same standard as bulk. For full-tang designs, inspect both tang sides under a bench lamp. A visible 0.3 mm gap looks small on a sample, but after 20 dishwasher cycles, water gets in and the complaint photos arrive.
Balance depends on the product tier. A lightweight stamped bread knife for a retail set can feel right at 85-120 g. A forged or full-tang custom bread knife usually sits at 150-230 g. Heavier is not better by default. Wrong question. The knife should stay controlled when cutting a loaf with one hand, without the tip diving or the handle pulling back. If the sample feels blade-heavy or handle-heavy, ask the factory before tooling whether we can adjust tang length, handle thickness, or bolster shape by 1-2 mm. On our bench scale, even a 6 g change at the butt can change the hand feel.
Run abuse checks before approval. Twist the handle by hand. Tap the spine 5 times on a wooden board. Check if rivets move or if the molded handle opens at the seam. We’ve seen this go sideways when a buyer approved photos only, then QC pulled the bulk sample and found the rear rivet spinning under a 3 mm punch. For dishwasher-safe claims, skip guesswork. Ask for test conditions, such as 20-30 dishwasher cycles at normal consumer temperature, then inspect for rust spots, handle whitening, logo fading, and adhesive failure.
Private label buyers should approve handle color with a physical Pantone chip or a signed color range. Plastic color can shift between sample and bulk if resin batches change; one PO typo from “black 6C” to “black C” caused a full carton review on our packing table. If color matching matters, write an acceptable Delta E or visual range on the sample approval sheet before bulk packing starts. We ship smoother when that line is signed before the first 1,000 pcs go into sleeves.
Approve Logo, Packaging, and Retail Data
Packaging approval is part of sample approval. Do not park it for later. We’ve had 6 retail launches lose 10-20 days after the knife passed inspection, while the color box file, barcode sticker, paper insert, or export carton mark still sat open. The packing room cannot seal 1,000 pcs into five-layer cartons when the Adobe Illustrator file is still at revision 7 on the merchandiser’s desktop.
Check logo placement on the blade or handle with exact dimensions. “Centered” on the PO is the wrong wording. For a laser logo on stainless steel, we usually ask for a 0.2 mm depth check on the marking sample, then QC pulled the sample after a normal wash test to confirm the mark stayed readable. Keep the logo away from the cutting edge; 8-10 mm clearance is safer on most bread knife blades after the grinding line finishes the serrations. Pad printing on handles needs rub testing because textured PP or TPR can eat ink fast. We’ve seen this go sideways after 50 dry rubs with a cotton cloth. If the brand mark appears on the knife and the box, approve the blade logo size in mm, the handle position from the bolster, and the Pantone code in the same approval email.
For packaging, check the structure with a packed sample, not a flat dieline. A bread knife is long, and the serrated tip will punch through weak paperboard if the insert is loose by even 3 mm. Blister card orders need a guard that locks over the teeth; paper sleeves need a stiff insert, not thin white card that bends on the packing table. Magnetic boxes and gift boxes need the knife held in place when the carton is turned upside down for 10 seconds. We run a 1.2 m drop test on the inner pack and export carton, mostly for e-commerce orders where the buyer later asks why 24 pcs arrived with torn corners.
Treat retail data like a QC checkpoint. Scan EAN, UPC, or FNSKU codes from the actual printed sample, not from the artwork proof on screen. Our Honeywell scanner catches things the PDF does not; last month QC found one FNSKU with a missing digit after the buyer’s PO typed “FNKSU.” Confirm country of origin wording against the buyer’s market file, then check warning labels line by line. Check importer address, recycling marks, and retailer carton labels before cartons move to the tape machine. For Amazon-style fulfillment, carton dimensions and weight must match the packed carton because oversize mistakes turn a good margin into bad math.
Ask your bread knife supplier for a packaging approval photo set: front panel with logo readable at 300 dpi, back panel with claims visible, side view showing pack thickness in mm, open pack showing the blade guard locked over the serrations, barcode scan result from the printed sample, carton mark, and carton drop-test result. We ship faster when this is locked before mass packing. It also avoids repacking work in China, where opening 80 cartons to swap labels is not savings. It is rework.
Set Pre-Production Quality Limits
Once the sample is approved, convert it into a floor checklist the bread knife factory can actually run. We write the sample number on the QC card, staple the packaging printout behind it, and check serration pitch with a 0.01 mm digital caliper before the grinding line starts. No shortcut here. If the bulk order depends on somebody’s memory, the math doesn’t work. We saw it go sideways on a 2,400 pcs reorder when the line used the old serration drawing.
For most private label bread knife projects, we run a pre-production meeting before mass assembly. Check the approved sample number, PO quantity, MOQ, shipment term, packaging revision, inspection level, and defect definitions against the signed PO, line by line. One buyer wrote “matte black handle” on the artwork but “black pakkawood” on the PO; QC pulled the sample before 3,000 pcs went into handle fitting. A normal MOQ is 500-1000 pcs per SKU for standard materials, with 35-55 days lead time after deposit and packaging approval. Complex handles, new molds, or custom gift boxes can push lead time to 60-75 days.
Set clear AQL limits before cutting steel. Around 8 out of 10 retail buyers we work with use AQL 2.5 for major defects and AQL 4.0 for minor defects under ANSI/ASQ Z1.4 general inspection level II. Critical defects stay at zero tolerance. For a bread knife, that means no broken blades, no exposed sharp edges outside the cutting edge, no loose handles, no wrong food-contact material, and no barcode failure for controlled retail channels. The Honeywell scanner on our packing table catches a dead EAN code in 2 seconds; a quick visual check will miss it.
Define defects before inspection starts. A 1 mm scratch on the blade face may pass for an entry-level wholesale item, but it should fail on a premium boxed custom bread knife with mirror polish. A handle color deviation can pass inside the approved range; it should not pass if the shelf look changes under a D65 light box. “Is it usable?” is the wrong question to ask. The buyer will ask whether it matches the signed sample, and the inspector will put that photo in the report.
Keep one golden sample at your office and one sealed golden sample at the factory in China. Each sample needs the buyer’s signature, approval date, SKU, and PO number written in permanent marker. We seal ours in a clear PE bag, add a QC label with the sample date, and store it in the QC cabinet, not on the packing bench where cartons and tape guns get mixed up. If a dispute happens, the answer is practical: does the bulk product match the signed standard, or not?
Frequently asked questions
Approve at least 2-3 physical samples, not just one. One sample should stay with your retail or QA team, one should be sealed at the bread knife factory, and one can be used for packaging, photo, or internal sales review. If the project includes a new handle mold, new serration pattern, or premium packaging, ask for a pre-production sample made from pilot-run parts before the full PO starts. For orders above 5000 pcs, we also recommend checking 5-10 pcs from the first production batch before final assembly. This catches tooling drift, color mismatch, or grinding variation early.
Your checklist should include blade length, blade thickness, serration pitch, steel grade, HRC band, handle material, weight, balance, logo method, packaging structure, barcode scan, carton mark, compliance documents, and AQL limits. For a custom bread knife, include exact tolerances such as blade length ±2 mm, target hardness 56-58 HRC, and carton drop test at 1.2 m. Also add cutting tests on crusty bread, soft bread, and tomato. The goal is not paperwork for its own sake. The goal is to make sure purchasing, QA, design, and the bread knife manufacturer are approving the same physical standard.
Photos and video are useful for early screening, but they are not enough for final approval. You cannot properly judge serration sharpness, burrs, handle comfort, balance, blade flex, or packaging strength from a photo. A video can show cutting performance, but it still does not replace your own handling test. For retail private label, final approval should be based on physical samples shipped by courier. If timing is tight, use video for first comments, then release only non-critical purchasing steps while waiting for the sample. Do not release bulk blade grinding or packaging mass printing until the physical sample is approved.
A common starting point is ANSI/ASQ Z1.4 general inspection level II, with AQL 2.5 for major defects and AQL 4.0 for minor defects. Critical defects should be zero tolerance. Major defects include loose handles, wrong blade length, serious rust, barcode failure, incorrect packaging, or serrations that fail the approved cutting test. Minor defects include small cosmetic scratches, slight color variation within range, or light packaging scuffs. If your retailer has a stricter manual, follow that manual instead. For premium boxed knives, many buyers tighten cosmetic standards because shelf presentation matters more.
For a standard bread knife using existing tooling, sample making usually takes 7-15 days, plus courier time. Buyer review often adds another 3-7 days if your QA, design, and retail teams are aligned. If you need a new handle mold, expect 20-35 days for tooling and first samples. Bulk production lead time normally starts after deposit, sample approval, and packaging approval, not before. At TANGFORGE in Yangjiang, China, a typical private label bread knife order takes 35-55 days after approvals, while complex gift-box or ODM projects can reach 60-75 days.
Send Us Your Bread Knife Sample Brief
Share blade size, steel, handle, packaging, MOQ, and target FOB price. Our export team will return a practical sample plan and production checklist.
Request a Quote