How to use a knife sharpener should be documented with the same discipline as blade steel, hardness, and packaging specs. For importers, brand managers, and Amazon sellers, sharpening method changes customer perception of quality even when the base knife is unchanged. A 56-58 HRC stainless chef knife can feel acceptable with a well-matched pull-through system, while a 60-62 HRC Japanese-style blade can be damaged or under-served by the same setup.
This article explains how to sharpen knives with three common systems: manual pull-through, electric, and bench stone. It also covers knife sharpening angle control, realistic throughput, common failure modes, and what procurement teams should specify in product briefs and inspection checklists. The goal is not hobbyist technique. It is consistent results at scale, lower complaint rates, and cleaner positioning when you build or source a sharpening accessory line.
How to Use a Knife Sharpener: Start With Steel, Hardness, and Edge Angle
Before writing knife sharpener instructions or selecting a bundled accessory, identify the blade class you are trying to maintain. Edge geometry matters more than the marketing copy on the sharpener box. Western kitchen knives often ship at 18-22 degrees per side, while Japanese-style profiles often target 12-15 degrees per side. Outdoor and utility knives may sit at 20-25 degrees per side for impact stability. If the sharpener fixes the wrong angle, users remove excess steel and complain about poor edge retention within weeks.
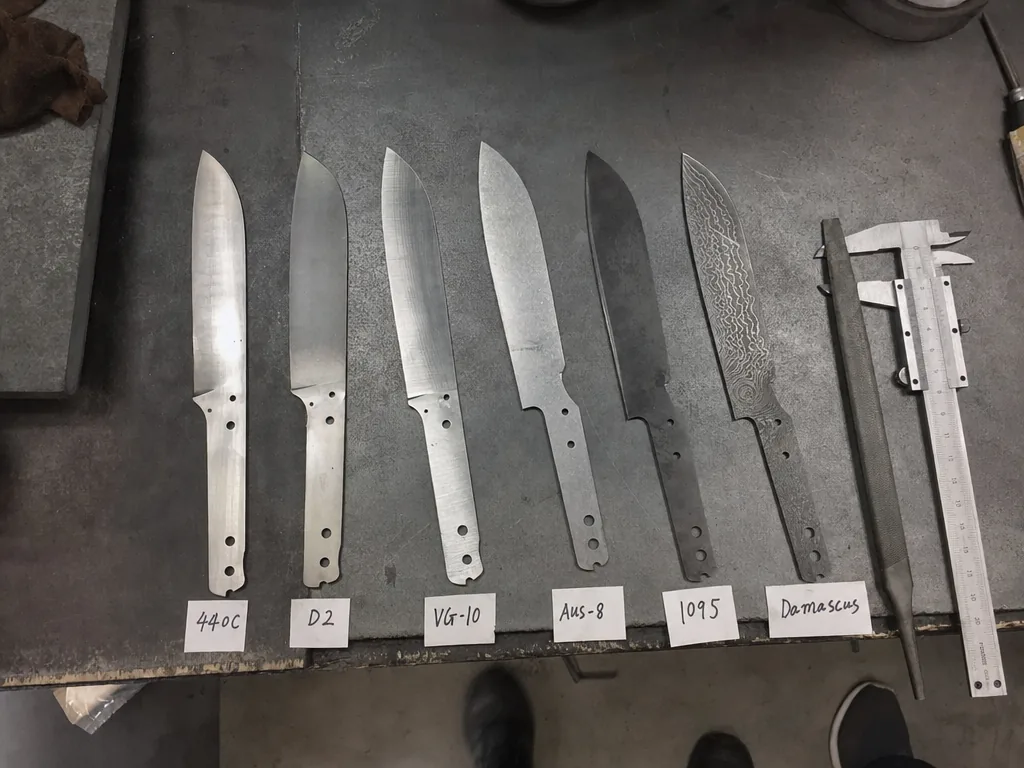
For a procurement team, the minimum technical sheet should state blade steel, target hardness, recommended knife sharpening angle, and whether the edge is double bevel or single bevel. Typical retail-grade stainless kitchen knives in 3Cr13 or 5Cr15MoV are usually 54-57 HRC. Mid-tier 7Cr17MoV or 8Cr13MoV commonly falls around 56-59 HRC. Harder VG-10 or layered Japanese-style products may run 60-62 HRC and demand more careful abrasive selection.
A useful rule is simple: coarse carbide pull-through slots remove metal quickly and suit lower-cost, softer steels; ceramic or fine abrasives refine an already-correct edge; stones give the most control but require training. Teams that need a baseline reference on angle selection should align product claims with sharpening angles and systems. This is where many private label listings fail: the blade is sold as premium, but the included sharpener is engineered for a different angle band and hardness range.
- Below 56 HRC: tolerant of basic pull-through maintenance, but burr formation can be rough.
- 56-59 HRC: works with quality manual or electric systems if angle is controlled.
- 60 HRC and above: best maintained with fine abrasives or bench stone systems.
Manual Pull-Through Knife Sharpener: Step-by-Step Use and Buyer Limits
A manual pull through knife sharpener is the easiest system to explain at retail and the easiest to misuse in bulk customer hands. It usually combines one or more abrasive stages: coarse tungsten carbide, medium diamond, and fine ceramic. For mass-market kitchen sets, this format can reduce support burden because the use sequence is easy to print on the packaging insert.
Step-by-step use should be written in plain operational terms. Place the unit on a stable surface. Hold the handle firmly. Insert the heel of the blade into the correct slot. Pull from heel to tip in one smooth motion without sawing back and forth. Repeat 3-5 passes in the coarse slot only if the edge is genuinely dull or nicked. Move to the fine slot for 3-6 passes to refine the edge. Wipe the blade clean before cutting food. Do not press down hard; excessive force increases shoulder wear and leaves a ragged burr.
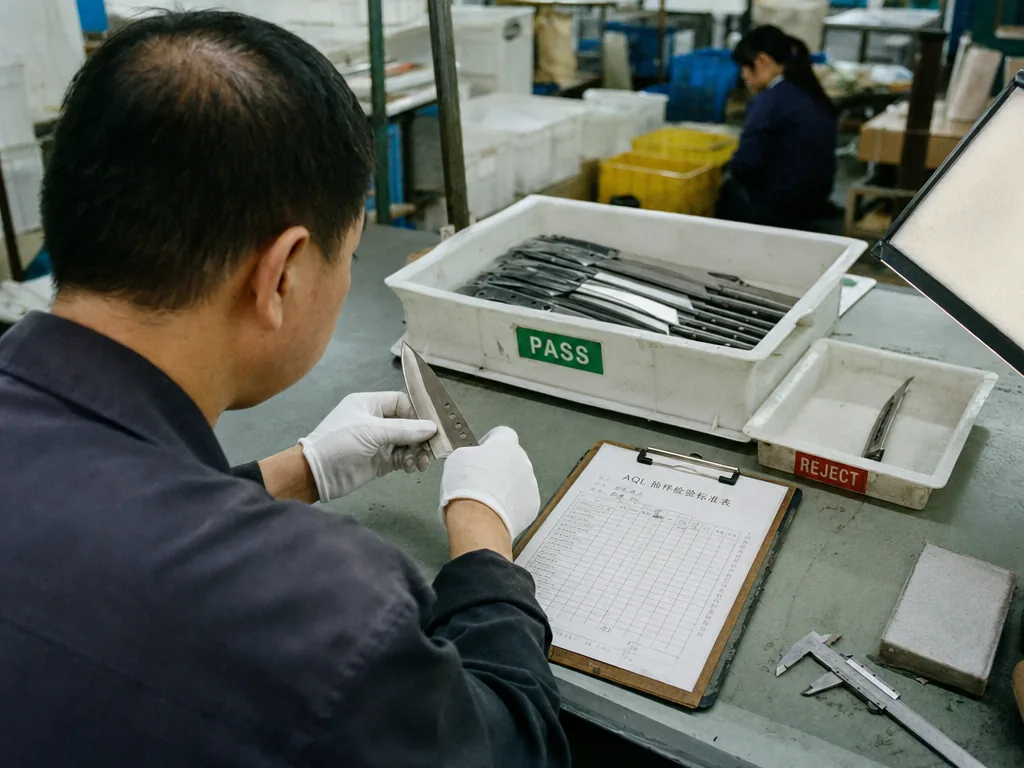
The biggest B2B issue is over-promising compatibility. Fixed-angle pull-through systems often operate around 18-22 degrees per side. That is acceptable for mainstream chef knives and utility knives, but not ideal for thin, hard Japanese profiles or serrated edges. If you sell mixed knife sets, specify which blades are compatible and which are not. AQL 2.5 inspections should check abrasive alignment, slot symmetry, handle fixation, and particle shedding after repeated passes.
Typical FOB ex-factory cost for a basic two-stage model may run roughly USD 0.70-1.80 at 3,000-5,000 units, while branded three-stage models can run USD 1.80-3.50 depending on ABS quality, TPR overmold, and abrasive media. For a more complete category view, use a structured knife sharpener buyer's guide when building the assortment.
How to Use an Electric Knife Sharpener Without Overheating the Edge
Electric sharpeners sell on convenience, but procurement teams should understand the operating limits before making durability or precision claims. Entry-level units use motor-driven abrasive wheels or belts with fixed guides. They are efficient for households and some light commercial environments, yet they can remove too much steel if the user makes repeated passes or pauses in the slot. Heat buildup is lower than many buyers assume, but it still rises when grit is aggressive and feed speed is inconsistent.
Knife sharpener instructions for electric models should follow a strict sequence. First, confirm voltage and plug compliance for the destination market. Second, place the unit on a dry, stable surface and start the motor. Third, insert the blade heel into stage one and draw the blade through at a steady speed, usually 2-4 seconds per pass for an 8-inch chef knife. Use 1-2 passes per side for maintenance, or 3-4 for a dull edge. Fourth, move to the polishing stage and repeat with lighter pressure. Fifth, clean both blade and machine debris tray.
Where brands get into trouble is compatibility language. Electric sharpeners are usually strongest for mid-hardness stainless knives around 55-58 HRC. They are less suitable for heavy reprofiling of thick outdoor knives and not the first choice for high-hardness, thin-edge products above 60 HRC. SKU briefs should note blade length limits, minimum heel clearance, and whether scissors or serrations are supported.
| System | Typical Angle Control | Best Fit | Main Risk | Indicative FOB |
|---|---|---|---|---|
| Manual pull-through | Fixed, often 18-22 degrees | Mainstream kitchen knives, 54-58 HRC | Excess steel removal, burr quality | USD 0.70-3.50 |
| Electric sharpener | Fixed guides, multi-stage | Convenience-driven consumer lines | Over-grinding, motor QC, debris management | USD 7-22 |
| Bench stone | Manual, highly adjustable | Premium knives, trained users, 56-62 HRC | Skill dependence, slower throughput | USD 2-18 per stone |
Lead times for electric sharpeners are usually longer than manual units because of motor sourcing, certification, and packaging tests. A practical range is 35-60 days after deposit, versus 20-35 days for manual sharpeners, depending on certification status and carton design complexity.
Bench Stone Method: How to Use a Knife Sharpener With Full Angle Control
Bench stones remain the most precise answer to the question of how to use a knife sharpener when edge quality matters more than convenience. They are also the hardest to standardize for end users. A stone system can be water stone, oil stone, diamond plate, or a combination sequence. For private label programs, the instruction burden is higher, but the positioning is stronger for premium kitchen knives and enthusiast channels.
The operating sequence should be explicit. Soak the stone if the specification requires it; many synthetic water stones need 10-15 minutes, while diamond plates do not. Secure the stone on a non-slip base. Set the blade at the target angle, commonly 15 degrees per side for Japanese-style chef knives or 20 degrees per side for Western profiles. Sweep the blade across the stone from heel to tip while maintaining angle and even pressure. Start with a coarse grit such as 400-800 only for dull or chipped edges. Move to 1000-3000 grit for edge formation and refinement, then 3000-8000 for finishing where appropriate.
A knife sharpening angle guide can reduce user error, but guides also slow the process and may scratch blade faces if badly molded. The bench stone method is usually best paired with a printed angle diagram and a note on burr detection. Users should sharpen one side until a burr forms, switch sides, then deburr with lighter alternating strokes. If your line includes honing rods or instructions around sharpening stick knife maintenance, clarify that rods mostly realign an edge rather than perform heavy stock removal.
From a sourcing perspective, stone flatness, grit consistency, and slurry behavior matter more than decorative packaging. Inspection should check dimensional tolerance, cracking after soak cycles, and grit contamination between sides on combination stones.
Knife Sharpening Angle, Throughput, and Retail Positioning by Channel
The right knife sharpening angle is not only a technical choice; it drives how the product should be sold. Amazon private label sellers generally benefit from simpler systems with low misuse risk and clear visual instructions. Specialty kitchen brands can justify bench stone bundles or premium guided systems because the customer expects a learning curve. Importers selling into big-box retail usually need lower return exposure and faster onboarding, which favors pull-through or entry electric units.
There is also a throughput question. A manual pull-through can restore a serviceable edge on an 8-inch chef knife in under 60 seconds. An electric unit can do it in 30-90 seconds with less physical effort. A bench stone sequence may take 5-12 minutes depending on dullness and grit progression. For foodservice or hospitality procurement, this time cost affects whether the sharpener is a genuine maintenance tool or a drawer accessory that goes unused.
When teams compare channel fit, they should separate three claims: edge restoration, edge refinement, and edge maintenance. These are not the same. A ceramic rod or honing stick supports maintenance. A coarse carbide slot restores function quickly but sacrifices precision. Stones provide refinement and angle correction. This should be reflected in listing copy, insert cards, and replacement expectations.
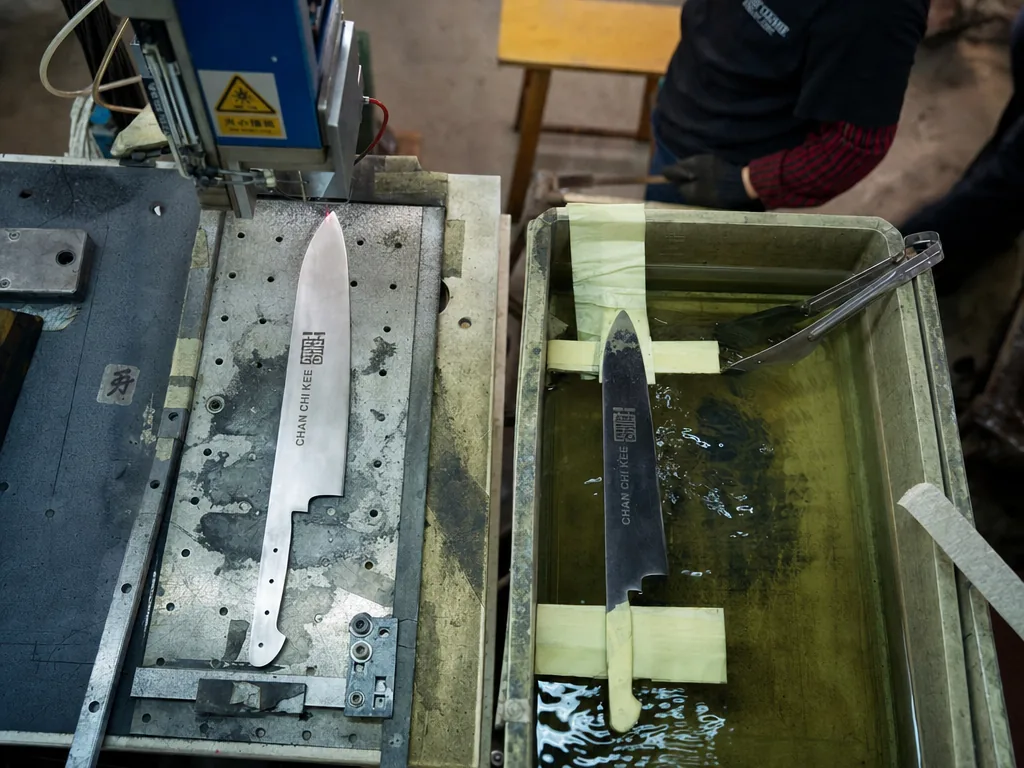
Operationally, a factory that already manages blade finishing under ISO 9001 procedures should also define how the accessory mirrors the blade's intended use. If you need to understand how production edge geometry is established before the product reaches the customer, review the factory sharpening process. That link between factory grind and after-sales maintenance is where many sourcing decisions either become coherent or start generating returns.
QC, Compliance, and Packaging Notes for Knife Sharpener Instructions
Buyers often focus on abrasive media and miss the packaging and quality-control details that determine post-launch performance. If the end user cannot understand how to sharpen knife with knife sharpener systems correctly in the first 30 seconds, customer service volume increases. This is especially true for multilingual export cartons and Amazon packaging inserts, where vague diagrams cause misuse.
A robust QC checklist should include slot alignment, abrasive bonding integrity, handle pull resistance, anti-slip base performance, and drop-test survival of retail packaging. For electric units, add motor noise range, plug conformity, thermal performance after repeated cycles, and debris tray retention. For stones, check flatness with a straightedge, grit labeling accuracy, corner chipping, and saturation behavior where soaking is required. AQL 2.5 is a common finished-goods benchmark, but higher-value premium sharpeners may justify tightened sampling on critical defects such as loose abrasive parts or electrical faults.
Instruction design should specify the exact pass count range, compatible blade categories, and cleaning method. Include at least one line telling users not to sharpen scissors, cleavers with very thick geometry, or single-bevel knives unless the system is designed for them. If the unit has a fixed guide, state the angle band. If the product includes a guide accessory, illustrate how to hold it. Good knife sharpener instructions are short, visual, and technically honest.
Typical project parameters for custom programs are straightforward: manual sharpener MOQ often starts around 1,000-3,000 units; electric models may start closer to 500-1,000 due to higher unit value; private label packaging updates can add 5-10 days; DDP programs cost more than FOB but reduce operational friction for smaller brands. These are basic commercial realities, not secondary details.
Frequently asked questions
For a mainstream kitchen assortment, 18-20 degrees per side is the safest recommendation because it balances sharpness and durability across common 5Cr15MoV, 7Cr17MoV, and similar steels at roughly 55-58 HRC. If the line includes harder Japanese-style blades, specify 12-15 degrees per side separately rather than using one instruction set for every SKU.
Usually no. A fixed-angle pull-through may work for chef knives, santokus, and utility knives in softer stainless, but it can be a poor fit for serrated blades, single-bevel knives, and high-hardness thin-edge products. Bundling one sharpener across mixed geometries often increases returns because the instruction card becomes too vague to be technically correct.
For maintenance, 1-2 light passes per stage is often enough. For a dull edge, many systems need 3-5 passes in the coarse stage and 2-4 in the fine stage, depending on abrasive aggression. More is not better. Excess passes increase metal loss, widen the edge shoulder, and shorten blade life, especially on softer steels.
In most kitchen applications, a honing rod or sharpening stick primarily realigns a rolled edge instead of removing significant material. It supports maintenance between full sharpening cycles. That makes it useful for 56-58 HRC kitchen knives, but it is not a substitute for a pull-through, electric system, or bench stone when the edge is truly dull.
For manual models, focus on abrasive fixation, slot symmetry, handle security, and anti-slip performance. For electric models, add motor consistency, plug compliance, heat behavior, and debris capture. For stones, verify flatness, grit consistency, and crack resistance. AQL 2.5 is common for finished goods, but critical defects should be defined more strictly in the inspection plan.
Get your project quoted
From a single SKU to a full product line, we can quote, sample and ship from our Zhejiang facility. Talk to a specialist who's worked on hundreds of buyer briefs.
Request a Quote